


Pretty much everyone loves a good bargain, especially when it’s something that can be transformed into a gorgeous staple piece of furniture for your home. Usually, these pieces require a little bit of TLC before you can pop them into whichever room you’d envisioned them in.
With that in mind, here’s a fast four-step beginner guide to upcycling furniture you find for your home.
Make sure you’ve got what you need
There are some essential pieces of kit that you’ll need in order to start the upcycling process. Cleaning supplies are a must, but sandpaper and sanding tools will be crucial for refreshing wooden pieces and any painting supplies you might need. You’ll be able to find all the essential bits at all good DIY stores.
Clean and sand down the furniture
Start off by removing any knobs or fixings that will get in the way and pop them somewhere safe. Go over the piece with a clean cloth and some wood-friendly cleaner to get rid of any built up dust and cobwebs.
From there, you can start sanding down the wooden surfaces if you want to give the whole thing a new coat of paint. Alternatively, you can simply sand down imperfections and try to match the varnish as closely as possible.
If you’d rather not go through the effort of sanding, you can always pick up a primer as a work around before painting or choose a chalk paint which will remove the need for sanding or primer all together.
Using the right paint
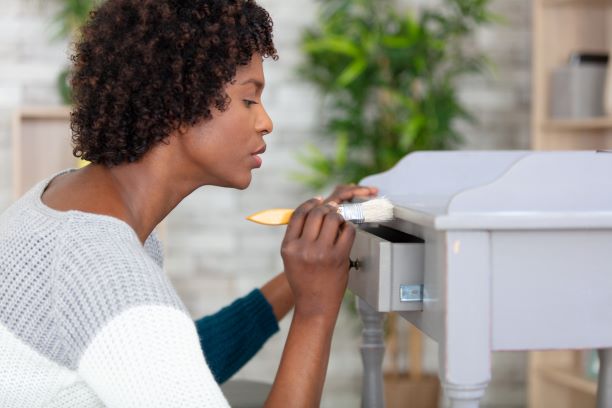
Finding the proper paint isn’t just about picking a colour that’ll match your existing aesthetic or bring a whole room together. Using the right type of paint is equally important to getting a smooth finish.
If you’re looking to get as fine a finish to your painting as possible, using a paint gun and air compressor hose will provide you with the ideal tools for a smooth, consistent finish to your painting. Whilst it can take more prep to set up a painting space, spray painting is a lot less fiddly and gives even coverage.
Chalk paint is arguably the best option if you’ve skipped sanding and can be a quick option if you’re looking to upcycle furniture fast – but this type of paint can show wear and tear just as quick if you’re not careful.
Giving it the finishing touch
Once you’ve sanded and painted your piece of furniture, the last think you’ll probably want to do is give it a protective coat of varnish or glaze so that all your hard work lasts as long as possible.
For natural woods, you might want to try and match the varnish to the original finish of the piece, but you could always try out a different type of wood varnish to achieve your dream look – creativity is key when upcycling.
You can also find plenty of finishing waxes for furniture which will add some longevity to your furniture if you’d prefer to use that over varnish. Wax will penetrate the material and buff to a sheen, while varnish sits on top as a protective layer. Choose whichever you think would provide your preferred finish.
Remember that when it comes to upcycling, the experience is more of a journey of self-expression and discovery. Have fun and learn from the pieces that maybe don’t go according to plan. Most importantly, feel proud that you’ve given a neglected piece of furniture a new lease on life.